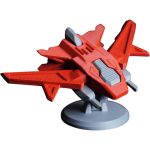
To prepare an STL file for a 3D printing service, export it as a watertight (manifold) mesh in millimetres, confirm it has no holes or flipped faces, and keep wall thicknesses above roughly 1 mm so they survive printing. As we roll out file uploads at 3DCentral in Laval, Quebec, you’ll be able to submit an STL, OBJ, or 3MF for review before printing — so this guide walks through how to get your file ready, the format basics, the prep checklist, and the errors we see most often. (If you would rather not model anything at all, our custom photo-to-figurine service is already live and works from a photo instead of a file.)
STL, OBJ, or 3MF: Which Format to Export
Most slicers and 3D printing services accept three formats, and they all describe a 3D shape while carrying different amounts of information. STL stores a raw triangle mesh only — no colour, units, or scale metadata — and it remains the universal default for single-colour decorative prints and figurines. OBJ adds optional texture or colour data through companion files, which is handy when surface colour is part of the design intent. 3MF is the modern option: it bundles the mesh together with units, colour, and print settings in one compact file, which means the scale travels with the model and you get the fewest scaling surprises.
If you only need a clean, single-material PLA collectible, STL is perfectly fine and the most widely supported choice. If your model relies on embedded colour zones or you want the scale baked in, 3MF is the more reliable modern pick because it stores the unit definition. The deeper format trade-offs are a topic in their own right; for ordering a custom decorative print, the practical rule is simply: pick STL for single-colour pieces and 3MF when colour or scale needs to ride along with the file.
A Note on Scale and Units
The single most common headache is units. STL files do not record whether a number means millimetres or inches, so a model designed in inches can arrive 25.4 times too small or too large. Before you export, set your modelling software to millimetres, and double-check the bounding-box dimensions. If your figurine should be about 80 mm tall, the file should report roughly 80 units of height — not 3.15.
Your Pre-Upload Prep Checklist
This checklist is the heart of getting a file ready. Run through it before you submit anything — it takes a few minutes and dramatically reduces the chance a file would need a revision round.
- Make it watertight. The mesh should be a fully closed (manifold) surface with no gaps. Most slicers and free tools flag holes automatically.
- Check wall thickness. Thin shells and fine details can break or fail to print. As a rough guide, aim for walls at or above roughly 1 mm, and avoid knife-edge thin spots.
- Confirm the scale. Verify the overall dimensions in millimetres so the print matches the size you expect.
- Fix flipped faces. Normals should all point outward; inverted faces confuse slicers and can leave gaps in the surface.
- Simplify if it is enormous. Ultra-dense meshes with tens of millions of triangles are slow to process and rarely add visible detail at collectible scale.
- One model per file when possible. If you want several pieces, separate them or note how they should be arranged.
Not sure your file is ready? Get it as close as you can with the checklist above. As file uploads roll out, our team plans to review submissions and flag anything that needs a tweak — such as thin walls or holes — before printing.
Common File Errors (and How to Avoid Them)
Non-Manifold Geometry
This means edges or faces that do not connect cleanly — a hole in the mesh, an internal wall sharing an edge oddly, or overlapping shells. It is the number-one reason a slicer struggles. Free repair tools and the built-in mesh-fix features in most modelling apps resolve the majority of cases in one click.
Details That Are Too Fine
Hair-thin antennae, raised text under about 0.8 mm, or paper-thin capes may look great on screen but can disappear or snap in a physical print. Thicken delicate features slightly, or note that they are intentional so an orientation and layer height can be chosen to protect them.
Floating or Disconnected Parts
If your design has elements floating in mid-air with no connection to the body, they will need supports or may not print at all. For decorative pieces supports can often be added, but it helps to know in advance what is meant to be attached.
Wrong Orientation Assumptions
You do not need to pre-orient your model for the bed — orientation for print quality is handled on our end. But if there is a “best face” you want kept smooth and support-free (a portrait surface, a logo, a display front), it is worth noting on the order.
How File Uploads Are Intended to Work at 3DCentral
File uploads are a feature we are rolling out, so the steps below describe the intended flow rather than a pipeline that is fully live today. As the service comes online, the plan is for our team to review the geometry, confirm scale and printability, and choose materials and orientation suited to a clean decorative result. Most pieces would print in PLA, available in 10+ colours, with outdoor-safe PETG coming soon. We print on demand from our Laval, Quebec farm — nothing sits in a warehouse — and ship across Canada, the US, and internationally.
Shipping is free on Canadian orders over $149 CAD; US and international rates are calculated at checkout. Because we ship domestically from within Canada, there are no domestic customs fees on Canada-to-Canada orders.
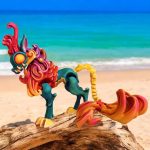
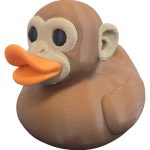
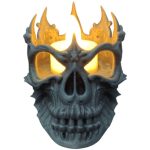
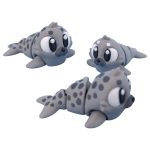
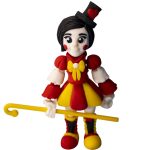
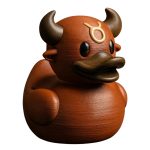
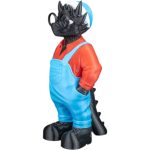
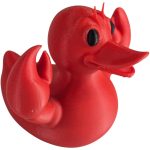
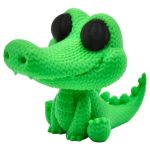
Already Live: Photo-to-Figurine (No File Needed)
Separate from the STL-upload path described above, our photo-to-figurine service is already available today. It turns a clear photo into a custom figurine using an AI sculpt refined by human finishing — no modelling and no STL required. That live service lives on our custom service page, and it is distinct from the file-upload feature we are still rolling out.
Don’t Have an STL? You Have Options
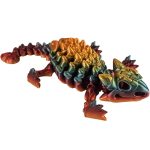
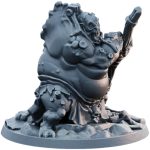
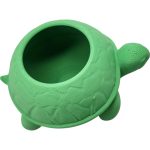
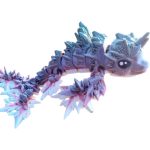
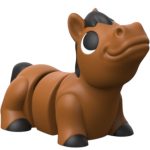
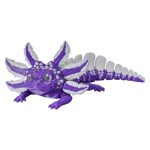
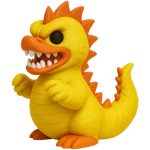
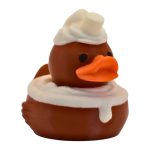
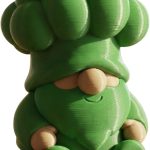
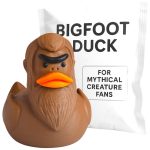
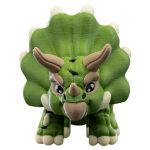
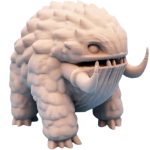
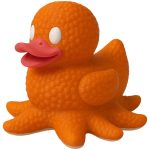
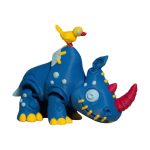
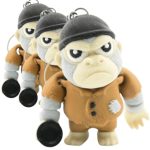
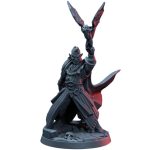
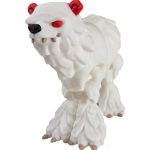
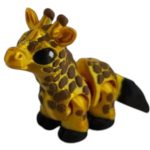
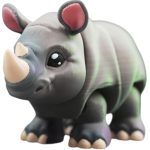
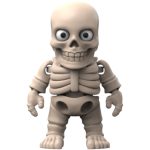
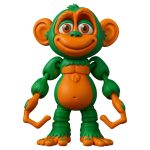
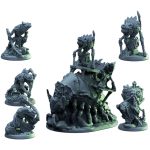
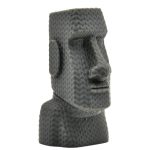
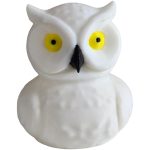
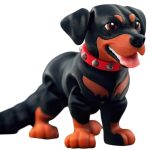
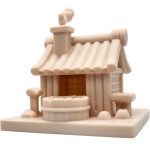
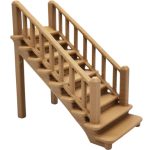
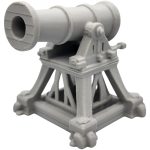
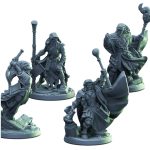
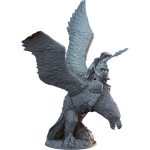
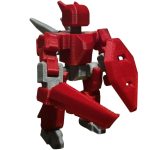
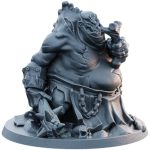
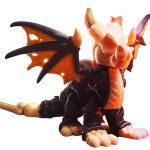
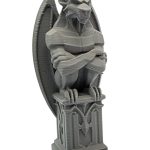
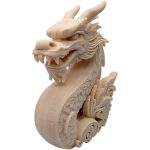
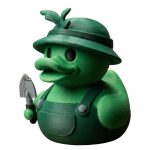
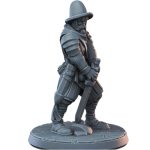
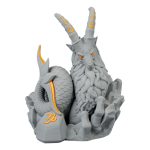
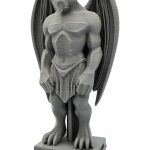
A custom print does not require modelling skills. You can browse ready-to-order collectibles in our shop — a curated mix of original 3DCentral designs and community-artist models printed with permission — or start the live photo-to-figurine flow on the custom service page. If you own a printer and want to download and print our original designs yourself, our Commercial License covers 3DCentral original designs only; for community-artist files, contact the artist directly for commercial rights.
FAQ
What is the best file format for a custom 3D print?
STL is the universal default and works well for single-colour decorative pieces. Choose 3MF if you want scale and colour data baked into one file, or OBJ if your model carries texture or colour information that matters to the design.
How do I make sure my STL is the right size?
Model in millimetres and check the bounding-box dimensions before exporting. STL files do not store units, so a model built in inches can import 25.4 times off. Confirm that the height, width, and depth read the way you expect in millimetres.
What does “watertight” or “manifold” mean?
It means the mesh is a fully closed surface with no holes, gaps, or self-intersecting faces. A watertight model slices cleanly. Most slicers and free mesh-repair tools detect and fix non-manifold geometry automatically.
What if my file has errors I can’t fix?
Get it as close to print-ready as you can using the checklist above. As file uploads roll out, the plan is for our team to review submissions, flag issues like thin walls or holes, and work with you on a fix before printing. In the meantime, the live photo-to-figurine service is a no-file alternative.
Can I order a custom print without making an STL?
Yes. You can browse ready-to-order collectibles in our shop, or use the photo-to-figurine option on the custom service page, which turns a clear photo into a model with an AI sculpt and human finishing — no modelling required.